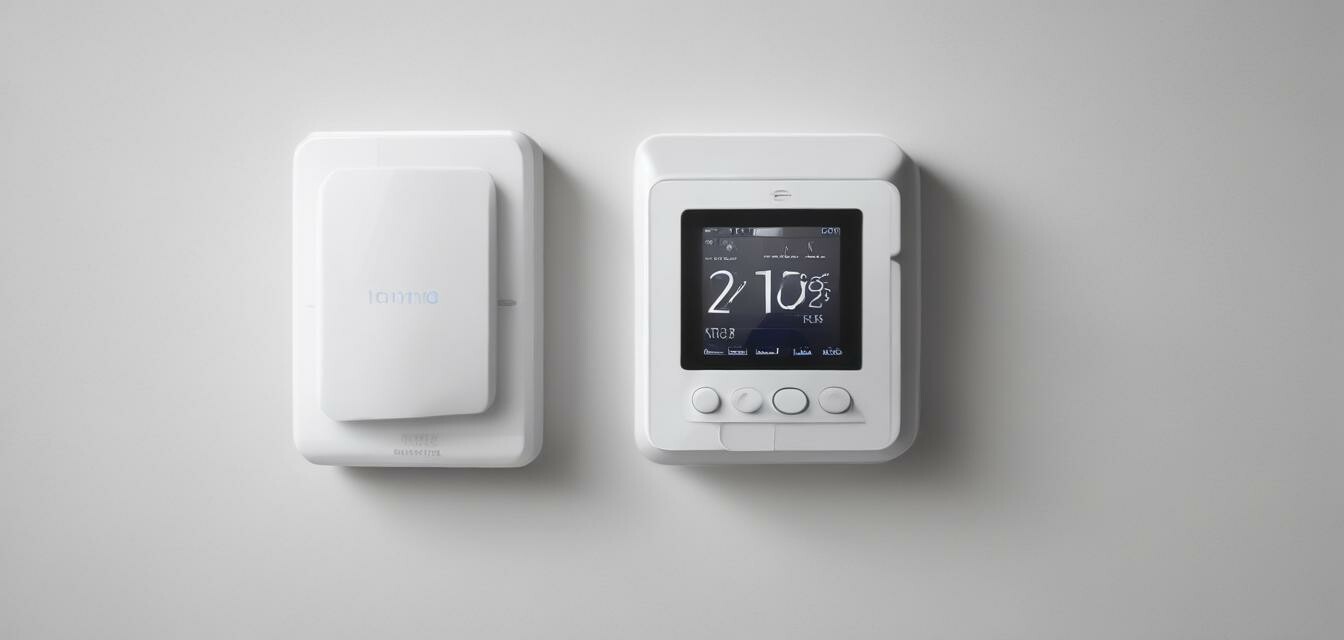
Installing Your Smart Thermostat: A Beginner's Guide
Key Takeaways
- Choose a compatible smart thermostat for your home.
- Follow the unboxing steps carefully to prepare for installation.
- Use the provided tools and safety precautions during installation.
- Connect your smart thermostat to Wi-Fi for remote access.
- Program your thermostat according to your schedule for maximum energy savings.
Installing a smart thermostat can greatly enhance your home’s energy efficiency and comfort. Whether you're looking to save on energy bills or enjoy full control of your home’s temperature from your smartphone, this comprehensive guide will walk you through the process of installing your smart thermostat, from unboxing to set up.
Unboxing Your Smart Thermostat
Before you start the installation, let’s first take a look at what’s inside the box when you purchase a smart thermostat.
| Item | Description |
|---|---|
| Smart Thermostat | The main device that controls the heating and cooling of your home. |
| Wall Plate | Used to cover the wall space around the thermostat. |
| Wiring Details | Instructions on how to connect your existing system to the new thermostat. |
| Screws and Anchors | Hardware needed to secure the thermostat to the wall. |
| User Manual | A guide to help you with the installation process. |
Tools You'll Need
- Screwdriver
- Needle-nose pliers
- Drill (if necessary)
- Smartphone or tablet (for setup)
Installation Steps
Now that you're familiar with the components, follow these installation steps:
- Turn Off Power: Ensure you turn off the power at the breaker to avoid electrical shock.
- Remove the Old Thermostat: Carefully detach your old thermostat by unscrewing it from the wall. Take a picture of the wiring for reference.
- Connect Wires: Match your existing wires to the correct terminals on your smart thermostat. Refer to the user manual for specific color coding.
- Mount the Thermostat: Place the wall plate against the wall and secure it using the screws that came with your thermostat.
- Attach the Thermostat: Snap your smart thermostat onto the wall plate.
- Turn the Power Back On: Flip the breaker back on and check if the thermostat powers up.
Setting Up Your Smart Thermostat
With your thermostat physically installed, it’s time to set it up:
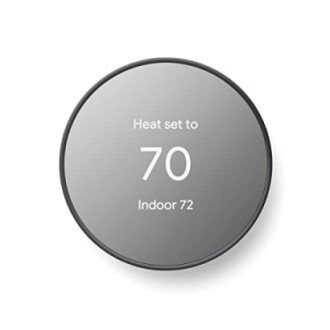
- Download the App: Install the thermostat's companion app on your smartphone. For example, if you opted for the Google Nest Thermostat, download the Google Home app.
- Create an Account: If you don’t have one already, create an account to access your thermostat remotely.
- Connect to Wi-Fi: Follow the app instructions to connect your thermostat to your home Wi-Fi network.
- Set Your Preferences: Program your thermostat to adjust temperatures based on your schedule. Take advantage of its energy-saving features!
- Test the Features: Ensure remote access and settings work correctly from your smartphone.
Benefits of Using a Smart Thermostat
Smart thermostats offer numerous benefits, enhancing the comfort and efficiency of your home:
- Energy Efficiency: Reduce energy consumption by setting schedules and using adaptive learning.
- Remote Access: Control your home temperature from anywhere using your smartphone.
- Integration with Smart Home Devices: Sync with other devices such as smart speakers for added convenience.
Google Nest Thermostat
This smart thermostat features Wi-Fi connectivity, allowing you to monitor and control your home's temperature remotely.
Learn MoreTroubleshooting Common Issues
If you experience issues with your installation or connection, here are some common problems and solutions:
| Issue | Possible Cause | Solution |
|---|---|---|
| Thermostat won’t turn on | Power is off or loose wiring | Check the circuit breaker and reconnect loose wires. |
| Wi-Fi connection issues | Weak signal or incorrect Wi-Fi password | Ensure you are within range of your router and enter the correct password. |
| Temperature not adjusting | Improper programming | Double-check your schedule settings in the app. |
Frequently Asked Questions
Do I need a common wire (C wire)?
Some smart thermostats require a C wire for power. Check your old thermostat's wiring or consult the user manual.
Can I install a smart thermostat myself?
Yes, most users can install a smart thermostat with basic tools and the provided manual. Just follow the steps above!
How can I maximize energy savings?
Take advantage of your thermostat’s scheduling features and adjust settings based on your lifestyle and home usage.
Conclusion
Installing a smart thermostat can be an easy yet rewarding project that enhances your home's efficiency. Follow this guide, and soon you'll be enjoying more control over your comfort and savings. For more resources and tips, explore our articles on smart thermostats and buying guides.
Tips for Beginners
- Read the installation manual thoroughly before starting.
- Keep your smartphone charged for the setup.
- Consider contacting a professional if you're unsure about the wiring.
Pros
- Energy-efficient operation
- Remote access and control
- Easy to program and manage via the app
Cons
- Setup may be challenging for some users
- Requires a reliable Wi-Fi connection


